
Child Link · Second dungeon
Dodongo’s Cavern Walkthrough
This Dodongo’s Cavern walkthrough covers the required route from the blocked entrance through King Dodongo. Play Saria’s Song for Darunia, use the Goron’s Bracelet to throw the Bomb Flower at the blocked entrance, then follow the cavern’s bomb route until you obtain the Bomb Bag. Open the giant Dodongo skull, reach King Dodongo and feed it Bombs when it inhales.
Critical path
- Use Bomb Flowers to open cracked walls and activate the central platforms.
- Clear the Lizalfos combat rooms and continue through the connected upper route.
- Use timed explosions to lower the large staircase and reach the upper level.
- Obtain the Bomb Bag. Permanent Bombs replace the need to find a nearby Bomb Flower.
- Drop explosives into the eye sockets of the giant Dodongo skull to open its mouth.
- Move the block into the floor switch, enter the Boss room and fight King Dodongo.
King Dodongo answer
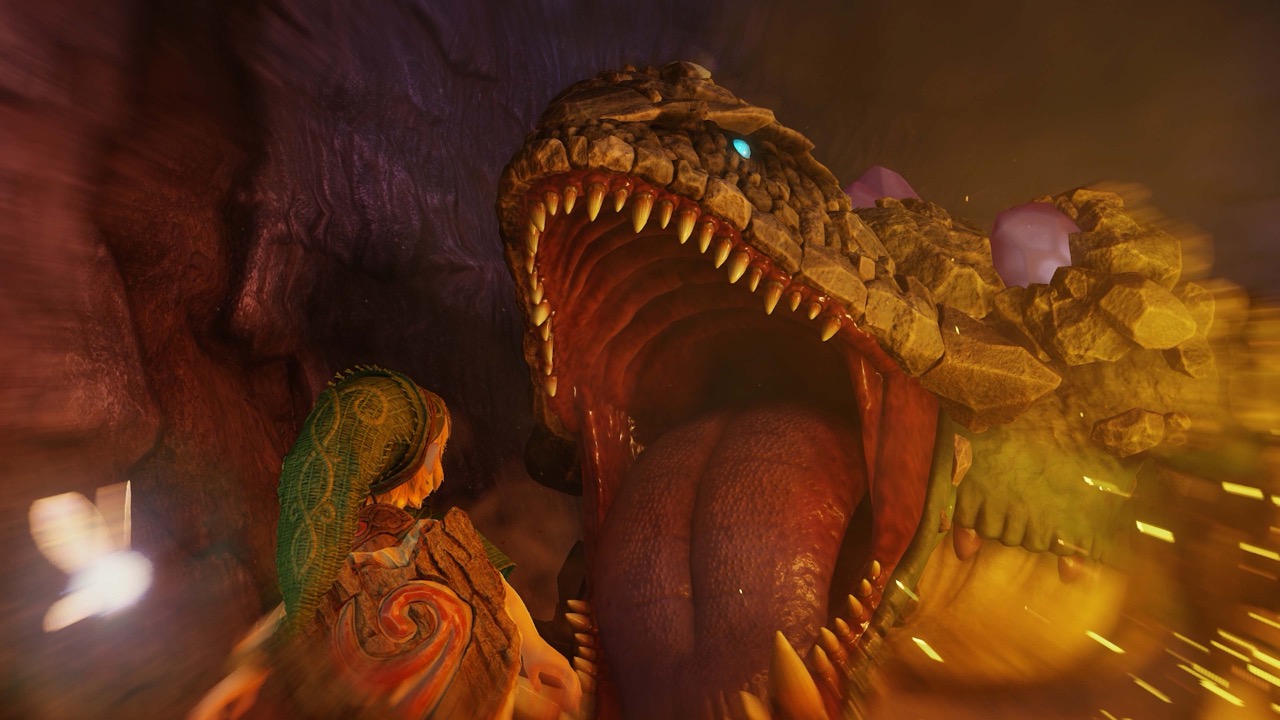
When King Dodongo opens its mouth to inhale, throw a Bomb inside. After it explodes, strike with the sword and move away before the rolling attack. Use the arena edge for safety and repeat the cycle.
Reserved verification fields
The page structure reserves exact Small Key count, chest IDs, floor-state IDs, every Remake-only room and a no-backtracking 100% route. These remain marked unverified until a second Remake source or direct game check confirms them.
Dodongo’s Cavern walkthrough checks
The route begins before the dungeon door. Show Zelda’s Letter at the Death Mountain gate, reach Goron City, play Saria’s Song for Darunia and collect the Goron’s Bracelet. Outside the cavern, lift the Bomb Flower and throw it down toward the blocked entrance.
Inside, Bomb Flowers handle the early cracked walls and switches. The Bomb Bag is the progression item that makes the second half more direct. Once you have it, return to the giant skull and drop Bombs into both eye sockets. Its mouth opens the lower route toward the block switch and boss door.
For King Dodongo, stand where you can see the inhale animation, throw a Bomb into the open mouth and move clear of the blast. Strike after the explosion, then keep to the edge while the boss rolls. Repeat the same cycle; no optional chest is required for the Goron’s Ruby.
Before leaving, confirm that the Bomb Bag is in the inventory and collect the post-boss Heart Container. Bombs open cracked walls and shortcuts on Death Mountain, so the dungeon item matters beyond this chapter. The story checkpoint is the Goron’s Ruby awarded after the boss scene.
Use this Dodongo’s Cavern walkthrough as the story route first, then return with later equipment only if the collectible checklist shows unfinished dungeon entries.
What should you know before finishing this route?
Do you need Bombs to enter Dodongo’s Cavern?
No. The Bomb Flower outside opens the entrance, and early dungeon Bomb Flowers work until you obtain the Bomb Bag.
How do you open the giant Dodongo skull?
After obtaining the Bomb Bag, drop a Bomb into each eye socket from the upper bridge.
What completes Dodongo’s Cavern?
Defeat King Dodongo, collect the Heart Container and finish the scene that awards the Goron’s Ruby.
What else should you know?
What item do you get in Dodongo’s Cavern?
The dungeon item is the Bomb Bag, which gives Link a permanent supply of Bombs.
Who is the Dodongo’s Cavern boss?
King Dodongo is the boss. Throw a Bomb into its mouth during the inhale animation.
What is the reward for Dodongo’s Cavern?
The story reward is the Goron’s Ruby, the second Spiritual Stone.